Editing your transcripts in Transkriptor is simple and efficient.
Open the transcription you want to edit.
Hover over the text you want to modify and Click on the text to enable editing.
When you start editing, you will see the Undo, Redo, and Save buttons become active in the upper right corner. If the Save button is disabled, your edits have been automatically saved.

Click the Rename icon next to the file title. Type the new title and press Enter on your keyboard. Your changes will be saved automatically, so no manual saving is required.

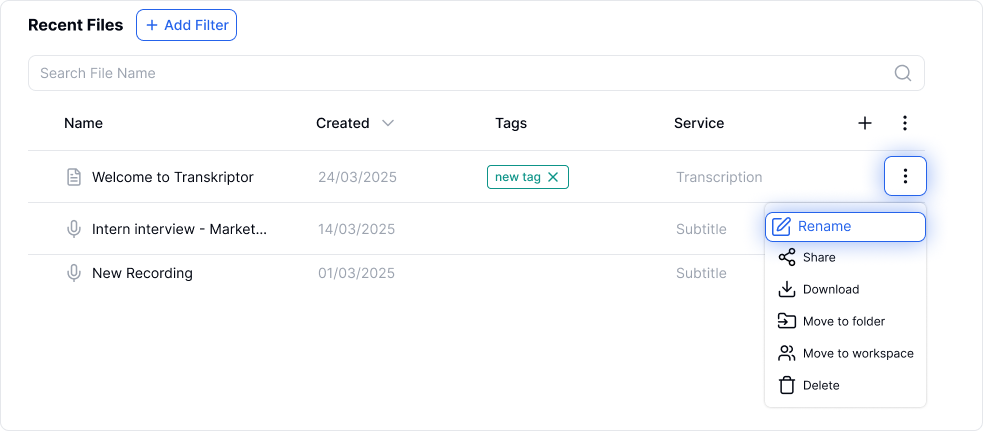
Alternatifly, go to the Files tab and and find the file you want to rename. Click the three dots next to the file, and select Rename. Type the new title and click Continue.
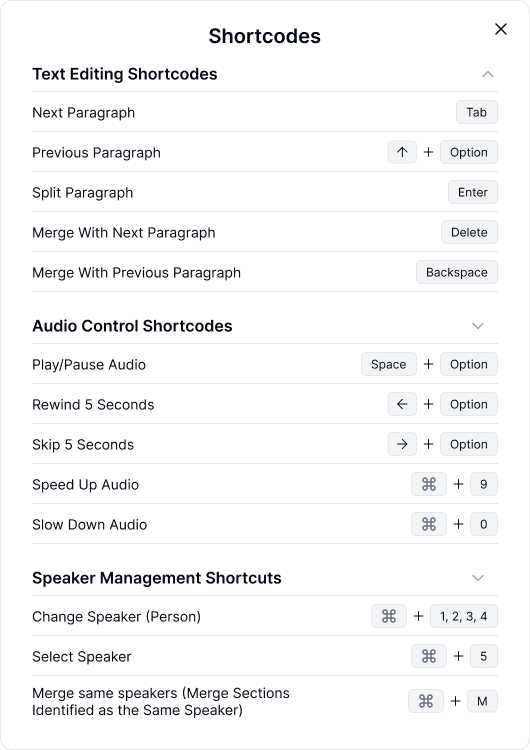
To merge a line with the one above, place the cursor at the beginning of the line and press the Backspace key on your keyboard
To merge with the line below, position the cursor at the end of the line and press the Delete key on your keyboard

Place the cursor where you want to split the line and press Enter key on your keyboard to split it into two distinct lines.
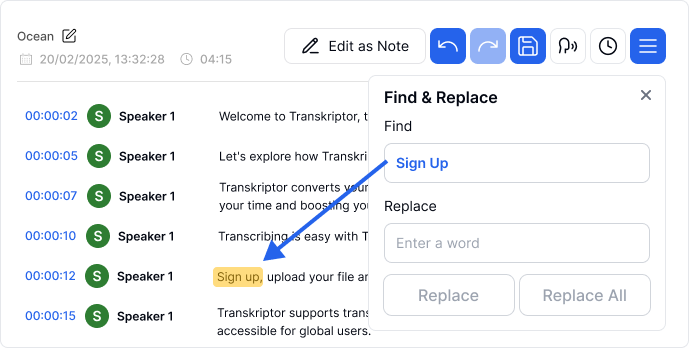
Click three dots in the upper right corner and select Find and Replace.
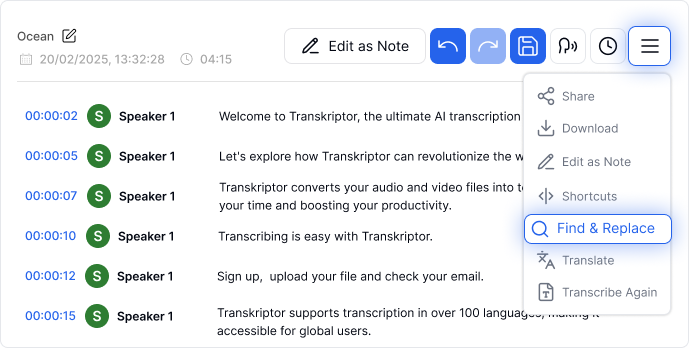
Enter the keyword you want to search for, and the matching words will be highlighted.
To replace a word, enter the word in the replace field. Click Replace to change a single word or Replace All to update all words.
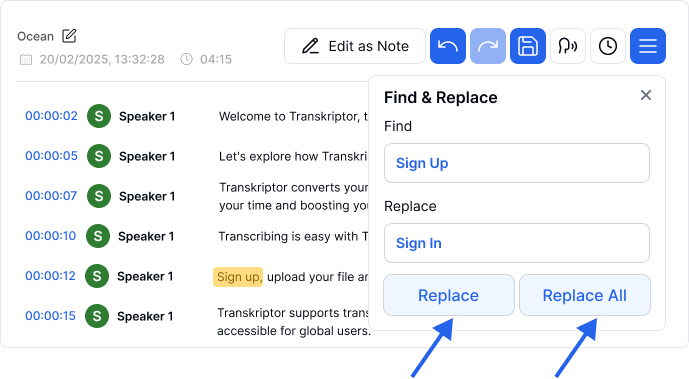
Your changes will be saved automatically.
In Transkriptor, speakers are initially labeled as Speaker 1, Speaker 2 and so on by default. You can easily rename a speaker at any time. When you use speaker identification, the new name you assign will be automatically updated across all transcriptions where that speaker is recognized. Learn more about speaker identification.
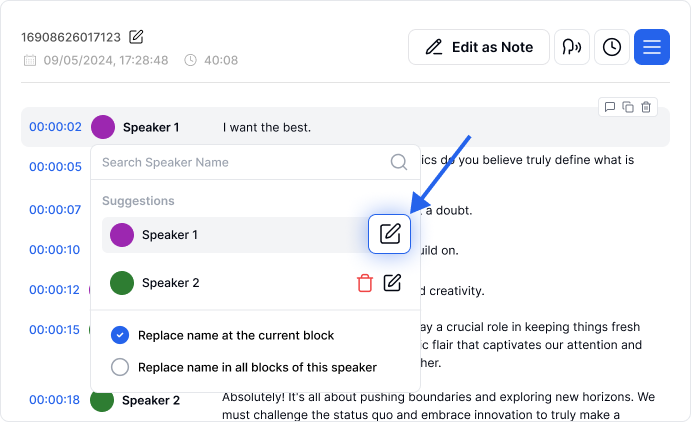
Click on the speaker name you want to edit to open the speaker list menu.
To rename the current speaker, click the Rename icon. Enter the new speaker name and press Enter to save.
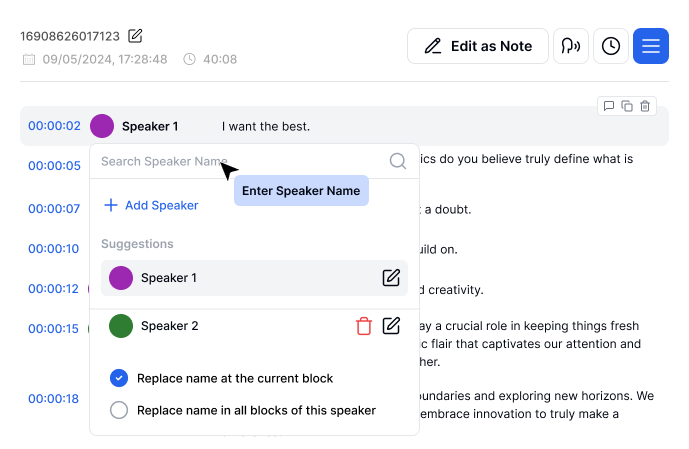
A pop-up will ask if you want to remember this speaker's name for future transcriptions. If you choose Yes, the name will be saved in the speaker recognition and appear as such in subsequent files. If you prefer not to save this setting, simply select No to adjust the speaker's name only for this file.

To add a speaker, type the name into the Speaker List text field and press Enter or click the Add Speaker button. To remove a speaker, click the trash icon next to the name you want to delete.
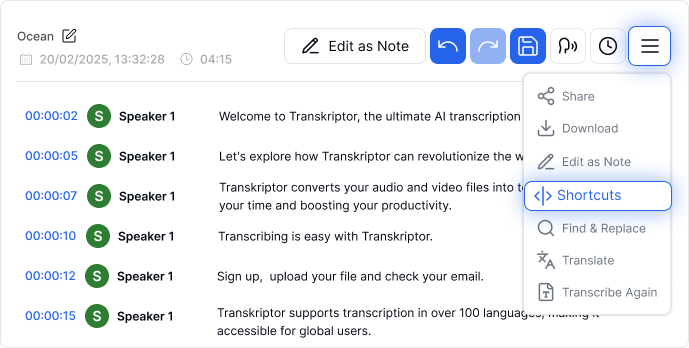
To view all available keyboard shortcuts for editing, click the three dots in the upper right corner, Select Shortcuts.