You can customize your Transkriptor Meeting Assistant settings, including auto-join preferences, informational messages, meeting assistant image & name, and summary sharing, to enhance your meeting experience and streamline collaboration.
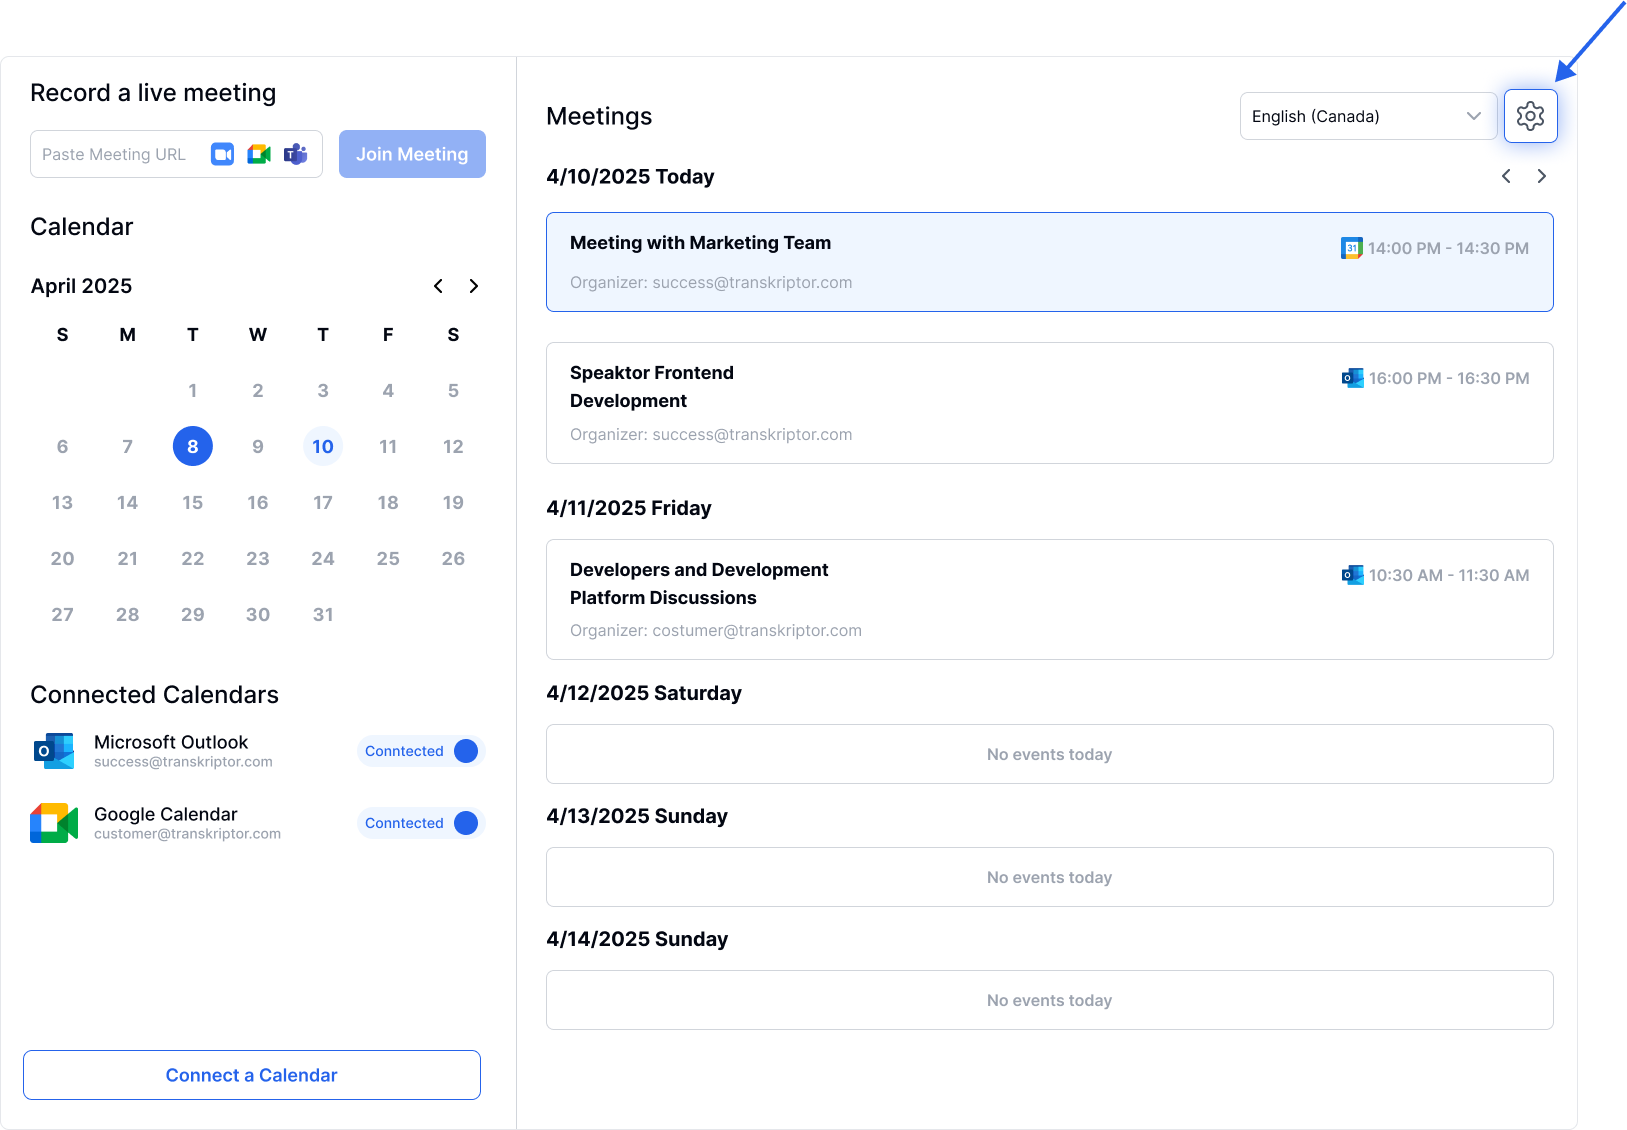
In the upper right corner of the calendar page, click the settings icon to access the settings page.
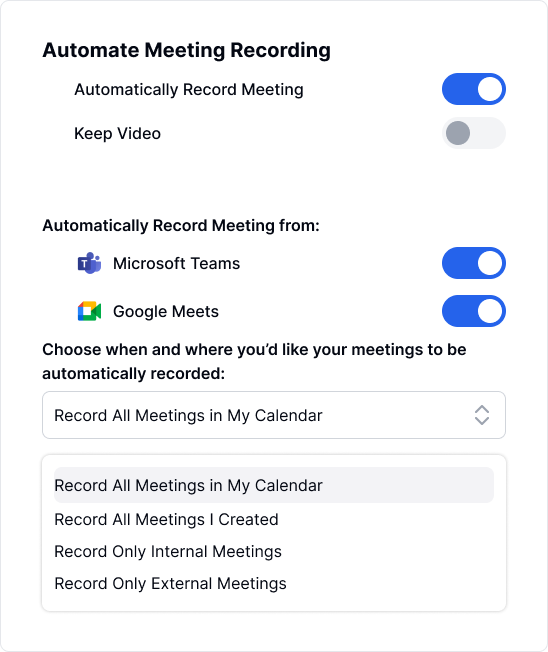
Activate Auto-Join – Turn on the Automatically Record Meeting option to allow Transkriptor Assistant to join and transcribe your meetings automatically.
Enable Video Recording (Optional) – If you want to save video recordings of your meetings, switch on the Keep Video option.
Choose Meeting Platforms – If you've connected both Microsoft Teams and Google Meet calendars, select which platform’s meetings you want Transkriptor Assistant to join.
Select Specific Meetings – Specify which calendar events should be recorded based on your preferences;
All Meetings in Your Calendar – Records every scheduled meeting.
All Meetings You Created – Records only the meetings you organize.
Internal Meetings – Records meetings with participants from your organization.
External Meetings – Records meetings with external participants.
Transkriptor will assign a default name based on your email address, which you can change as you wish. However, remember that the assistant name field cannot be left empty.

The Transkriptor meeting assistant appears in your meetings with the default image shown below. You have the option to replace this image; just make sure that any new image is in a 16:9 aspect ratio and saved in JPEG format.

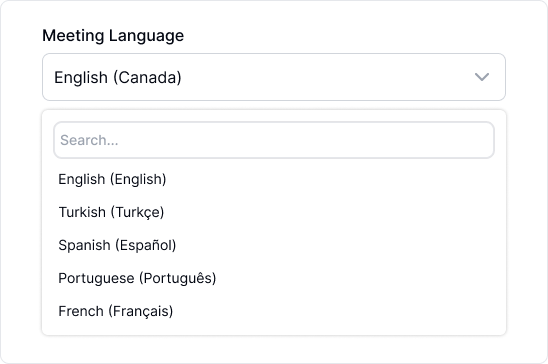
When you connect your calendar, the auto-detect language feature will be active until you decide to change it. However, if the same language is consistently spoken in your meetings, we recommend setting this feature to that specific language. This adjustment is crucial for ensuring the accuracy of your transcriptions.
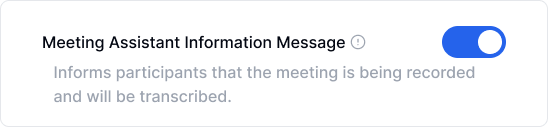
It's important to let participants know that the meeting is being recorded and will be transcribed. If you turn off this notification, please make sure you get consent from all participants according to the recording and data protection laws that apply where you and your attendees are located.
We've developed a range of default templates, each designed for specific sector use cases. Choose the template that best matches your meeting's content.
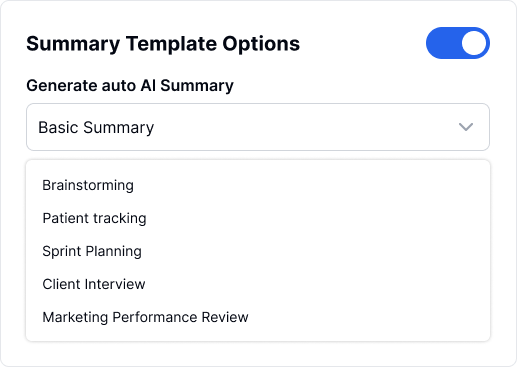
If you enable the summary template options, the summary generated from your selected template will appear in the Notes tab on the editor page immediately after the transcription is finalized. To ensure accuracy, automatic summaries are not generated for meetings lasting less than 15 minutes.
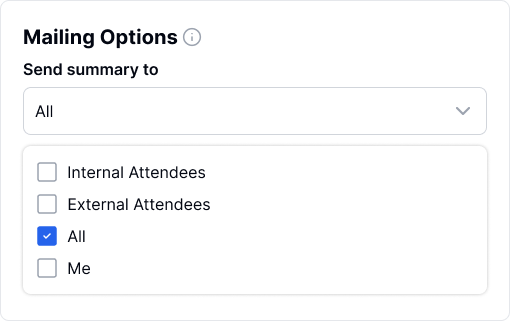
You can distribute the summary of your meeting—encompassing objectives, key insights, discussed topics, next steps, and action items—via email to participants. You have the flexibility to choose the recipients: internal attendees, external attendees, all participants, or just yourself. To enable this, simply activate the email distribution option.