In Transkriptor, you can efficiently manage your files by creating workspaces, allowing you to collaborate with your team and organize projects effectively. This feature provides a centralized location for all your transcriptions, enabling seamless team collaboration and ensuring your files remain well-structured and easily accessible.
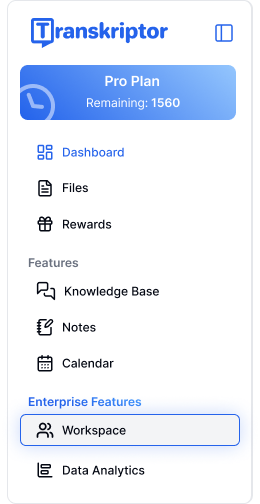
Click the Workspace name to open the page in the left-side navigation menu.
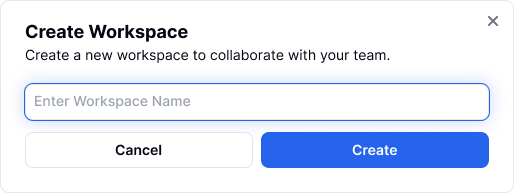
Click Create Workspace, enter a name for your workspace, and then click Create to start organizing your files.
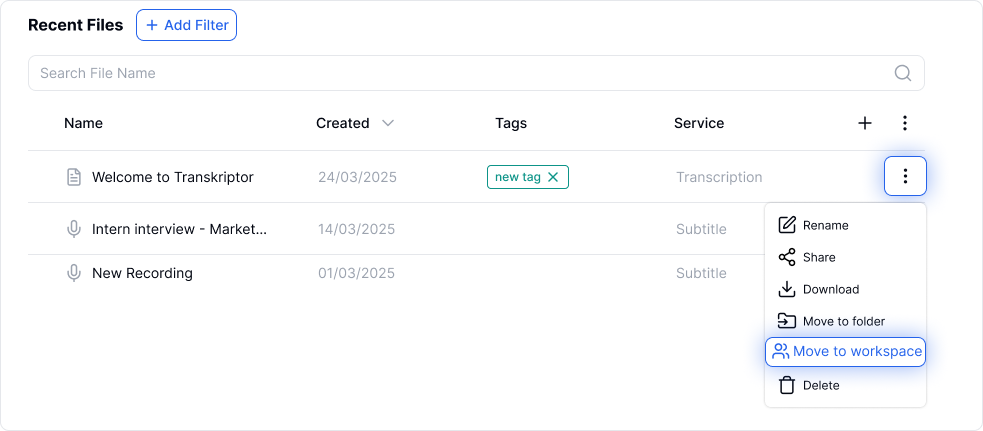
To move a single file, click on the 3 dots next to the file and select Move to workspace.
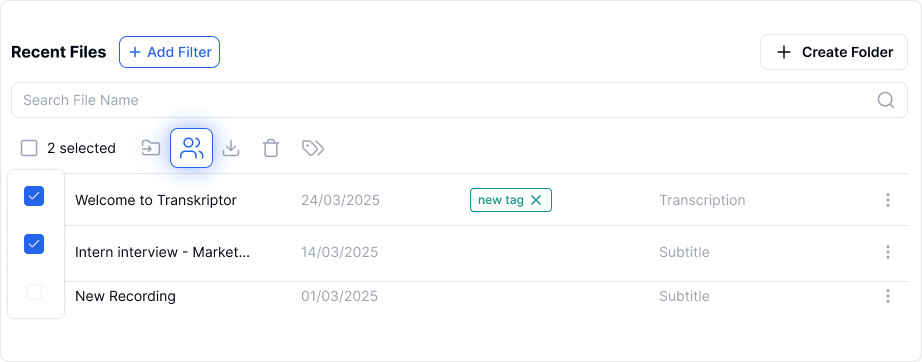
To select multiple file for moving, either check the checkboxes next to each file or use the Select All option. Then click the move to workspace icon.
Choose the destination workspace and click Move to Workspace.
Open the workspace page and click the Invite Member button in the top left side bar.

Enter the email address of the member you want to invite and click Send Invite.
An email will be sent to the invited members. Open the email and click Join.

If the invited members already have a Transkriptor account, they can join the team workspace by logging in with their existing account. If they don’t have one yet, they can sign up for a new Transkriptor account to join the workspace.
After successfully joining the workspace, you can view these members by clicking on the members list.
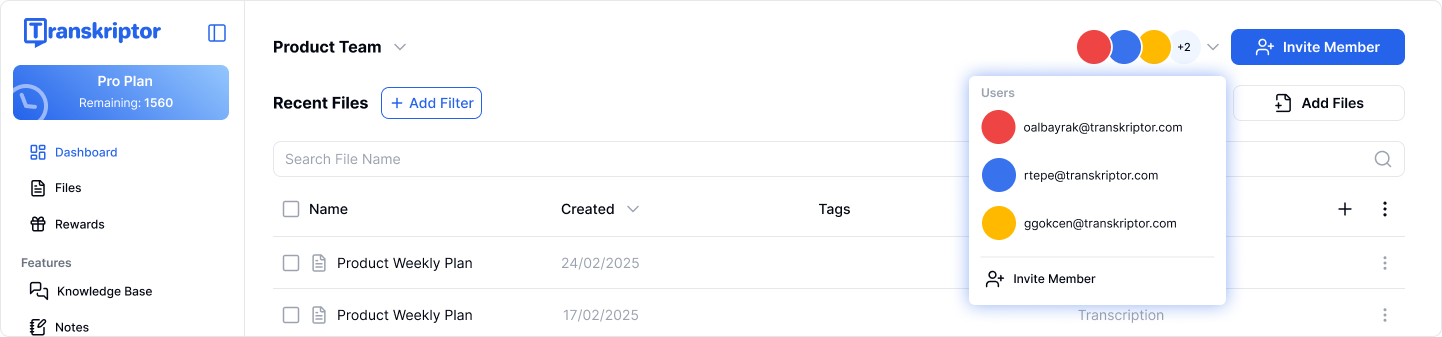
You can remove a member from your workspace by clicking the [x] next to their name in the members list and confirming the action by clicking Continue.
Click the workspace name to expand the menu.
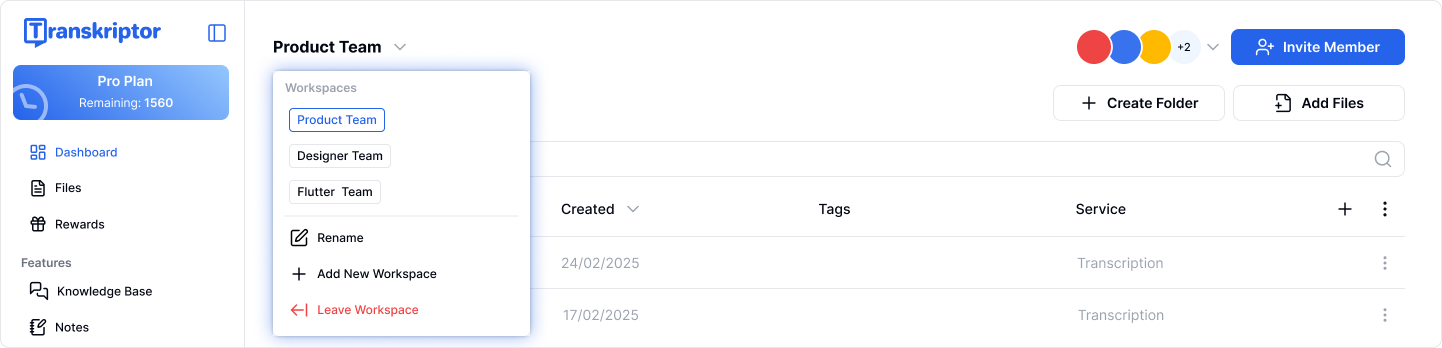
Click Rename to change the workspace name or Leave Workspace to leave the workspace.

